Collection Parameters:
A traditional insect collection involves the collection, proper mounting/pinning and display of insects. This can get quite complicated and a full description of every possible mounting technique is beyond the requirements for this course. However, a brief introduction to starting a traditional insect collection can be watched here:
Because this is an on-line class, our collection will be submitted as a photographic collection. You can use traditional collection methods and then photograph your insects for this class, or just take clear photographs in any of a number of ways discussed below.
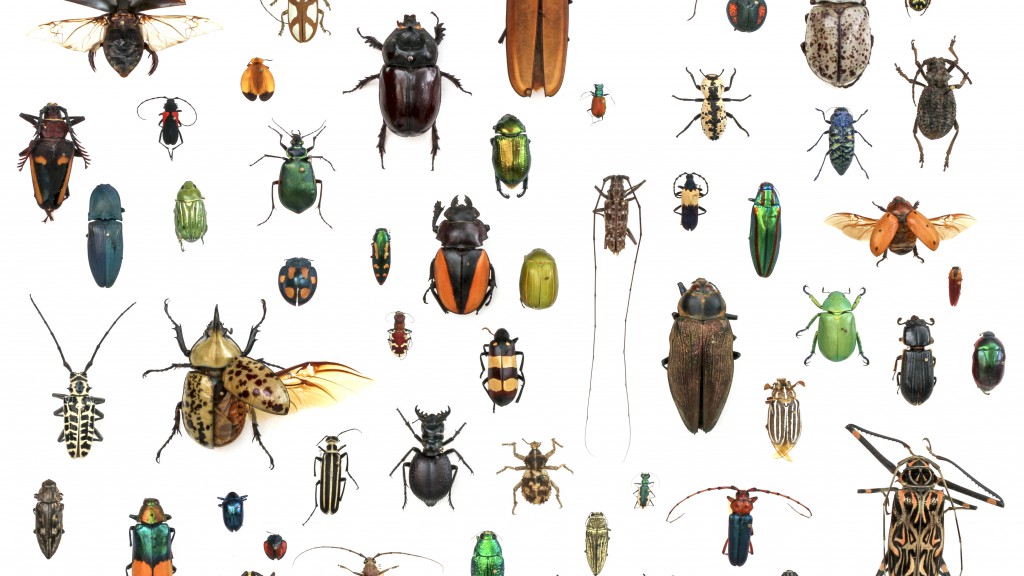
This collection will require you to collect 50 different insects/arthropods. The collection will be submitted as a set of ‘slides’, one per insect. Each slide will be filled using the template provided (don’t worry about that for the moment). The collection will be submitted by the designated time and date (TBA) near the end of the course (see syllabus for exact due dates).
Because I want you to start looking and paying attention to all ‘bugs’ I will allow you to include a number of other arthropods as well. This will help you to actually look and see what the differences are between insects and the other arthropod groups.
As part of your total of 50, you may include:
- 2 very different spiders
- 1 opiliones (Daddy-long-legs or Harvestman)
- 1 millipede
- 1 centipede
- 1 mite
- 1 tick
- 1 sowbug OR pillbug (not both)
I will also let you include 5 very different immatures. The problem with immatures is that they are often much more difficult to identify and key out. Even professionals will often raise some species to maturity before making a positive ID. However, immatures are often the stage of the insect causes the most damage to prairie crops. Therefore, it is important to be able to distinguish between the immatures of the different insect orders. Immatures may include examples of very different caterpillars, sawfly larvae, bee larvae, ant larvae, beetle grubs, immature true bugs and very different looking maggots.
In total, that makes a maximum of 8 ‘non-insect’ arthropods you can include in your collection and 5 immatures. You would still need 37 very different looking adults representing as many different orders as possible. Adults are by far the easiest to ID and there are numerous keys available.
Be aware that if you submit more than one slide of the same insect species in the same lifecycle stage, it will be discounted. For example, if you submit five slides of an adult Tarnished Plant Bug, I will only give you credit for one. But if you submit one picture of an adult Bertha Armyworm moth, and one picture of a Bertha Armyworm caterpillar, that will count as two.
Tips for finding insects
Start by looking for insects around your home. House flies are always a good start (Yay! One insect down, 49 left to go!). In the garden you will find various species of bees and wasps. Butterflies and caterpillars are easy to find and photograph. There are many beetles present; both on plants and on the ground. Turn over rocks and logs and see what emerges. Don’t forget about grasshoppers, we have several different species. Many insects like damp places too – so check those. Dragonflies, damselflies and mayflies are found around water along with various water beetles and true bugs. Moths can be found near light sources at night. Don’t ignore the tiny insects either such as thrips, aphids, etc.
Figure out how to take the best pictures with your equipment on an insect found close to home. That way you’ll be proficient if and when you take photos in the field.
For your photographs you may take picture of live insects if you can get photos that are clear enough to identify. Some of these can take place in the field. It is easier to take pictures of live insects in the mornings or on cold days, since the insects can not move as quickly. Other insects can be collected, cooled down in the refrigerator for photographs and then released if desired.
Most insects will need to be killed in order to take clear photographs. A common and convenient method of killing insects for further examination (or prior to traditional mounting) is to put them in the freezer long enough to kill them. Insects can also be collected and killed in the traditional way (using a killing jar – see section on Equipment) before being photographed.