If you haven’t tried H5P yet, or don’t know much about it, you can review the Learning Technology Ecosystem (LTE) H5P tool overview page. It describes the tool generally and gives a good overview of why you might use it.
Note: Typically at USask, H5P activities are hosted within WordPress sites or Pressbooks. This post explores an alternative method. We’d recommend exploring either WordPress or Pressbooks first before using the method in this article.
- how to create an interactive activity with H5P using the Lumi desktop application.
- upon creating your activity, how to get that activity into your Canvas course.
- Lumi Education – Authoring & Exporting
- Canvas – Publishing
Creating an H5P Activity
- When you first open Lumi, you’ll see two options: an H5P Editor, and Lumi Analytics. This post will not discuss analytics. Click Start on the H5P Editor card.

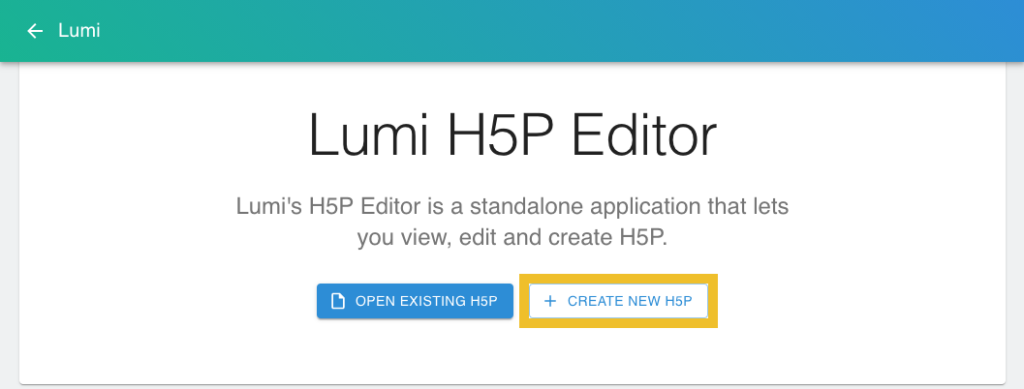
- Lumi allows you to open existing .h5p files you have, such as those you download using the Reuse button on existing H5P activities. For this post, we are creating an activity from scratch, so click Create New H5P.
- The H5P Content Hub will appear – if this is your first time using H5P, you may be asked to connect to the H5P hub – which includes a few key features. Click on the buttons below to explore the H5P hub features.
- For this example, we will create a Single Choice Set activity. To do this:
- Click Get
- Click Install
- Finally, click Use
- Once you click Use on any content type you will see the content editor. Each content type varies a little bit, but many have the same key features. Click on the buttons below to explore some of those features.
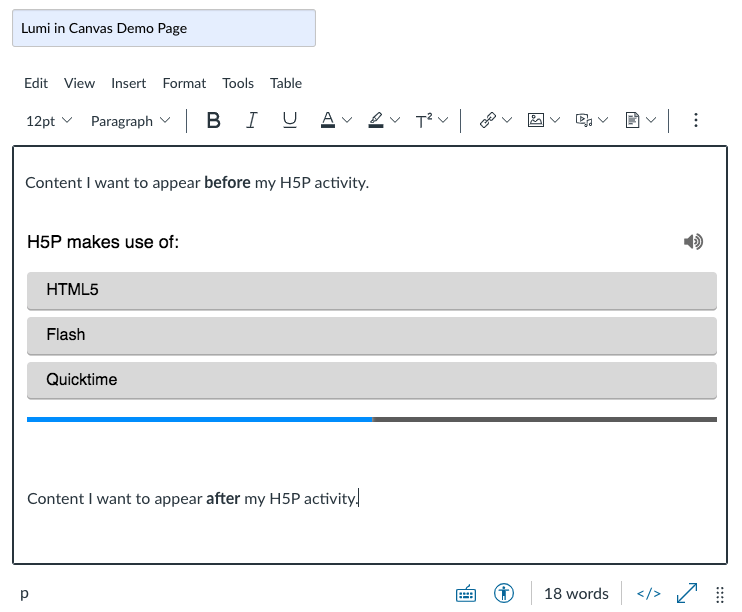
- After inputting your content information, you can click View to see and try H5P activity for the first time. Below, you can see how our demo looked in the editor, compared to the live interactive H5P content.
Publishing Your H5P Activity in Canvas
After exporting your H5P activity, you need a way to share it with your learners. You can do this by uploading that HTML file into Canvas and then linking to it from any Rich Content Editor pane. This example will show it in a page.
- Log into Canvas and navigate to the course you want your activity to appear in.
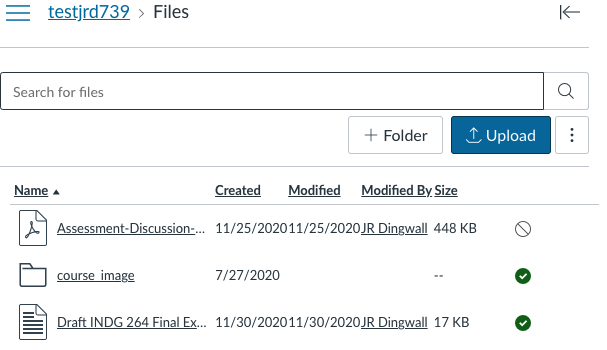
- On the course navigation, go to Files.
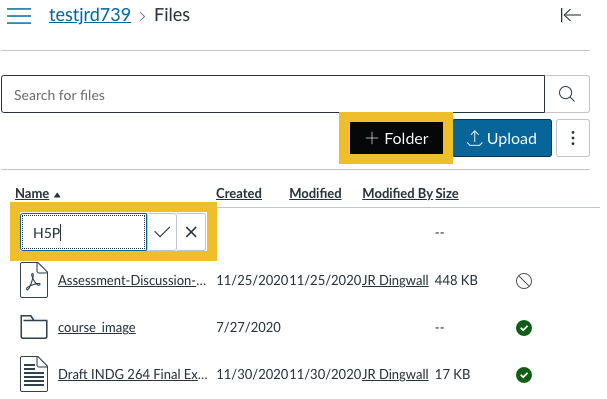
- If you are planning on using many H5P activities in your class, we strongly recommend you make an H5P folder to make finding them easy. Click +Folder, name the folder, and click the checkmark to confirm.
- Click the folder you just created, and either use the upload button, or simply click and drag your H5P HTML file you exported from Lumi into you H5P folder in Canvas.
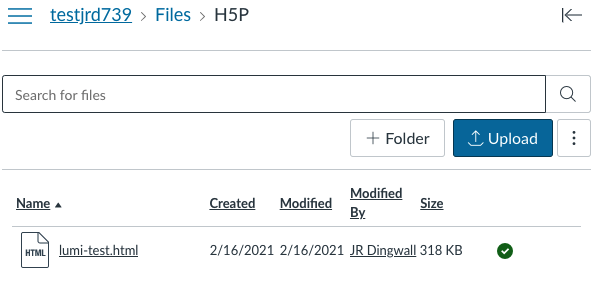
I just click and dragged my new activity onto the page and voilà, it’s in the folder.

- Next, go to Pages and create a new page where your H5P activity will appear OR the existing page where you want it to appear. Place your cursor where you want the activity to appear, and use the rich content editor to link to Course Documents.
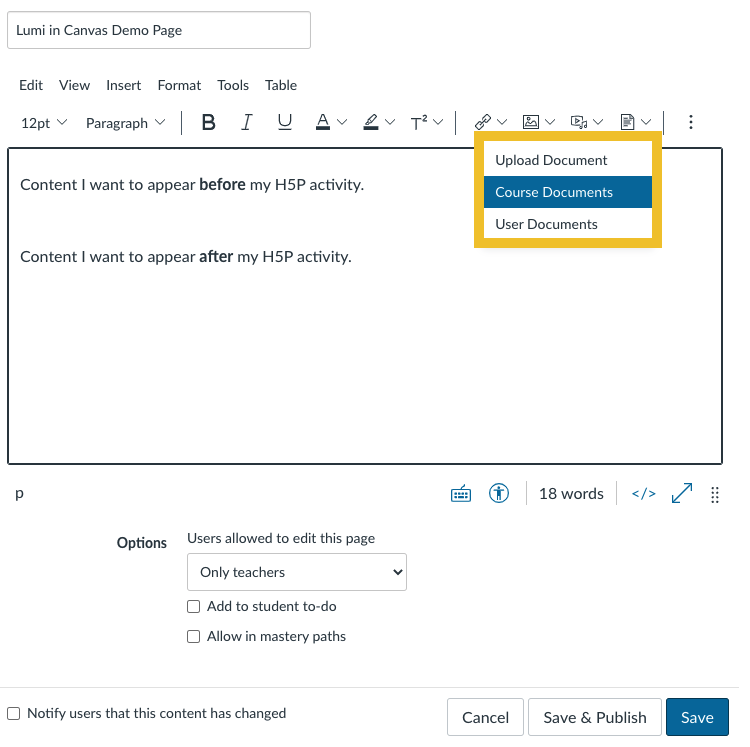
- Select your H5P activity.

- You’ll see a link appear that connects to the H5P activity. This works, it will link to the activity and then students can come back to the page, but what if you want it to play right there on the page? We will do a little trick with the HTML editor to get this to work.
- Click the HTML editor button in the lower right of your editing pane.
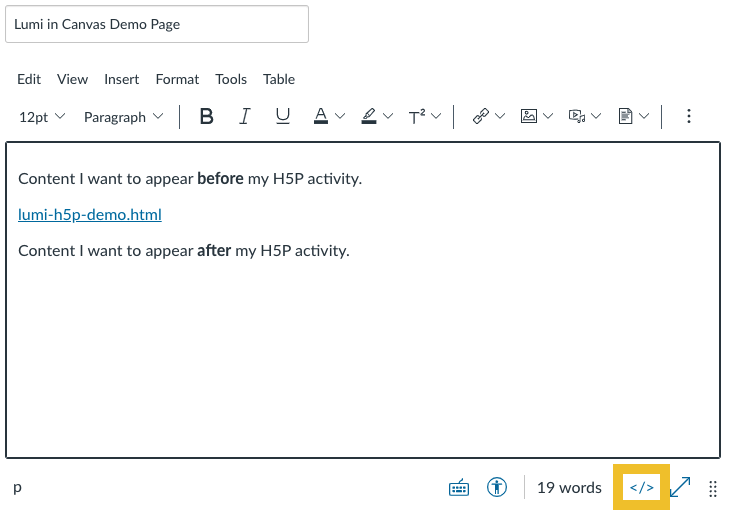
- Here you will see that your activity is in-fact, just a link.
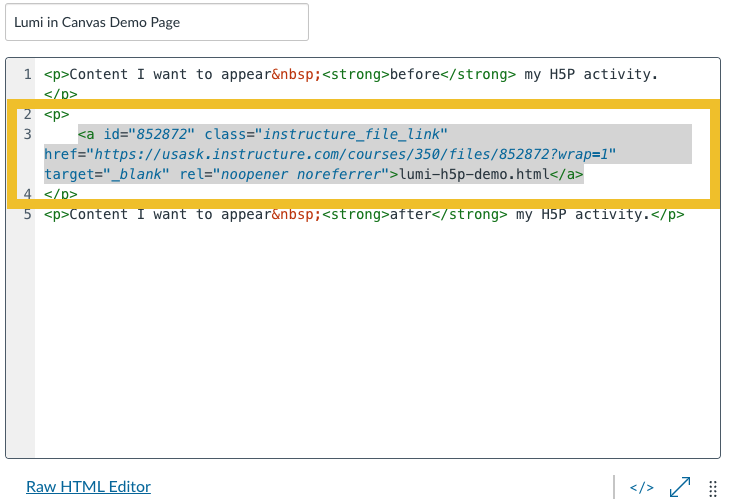
- The important bit of information we need is the “href”, so we will copy everything from href= to wrap=1 including the quotation marks.
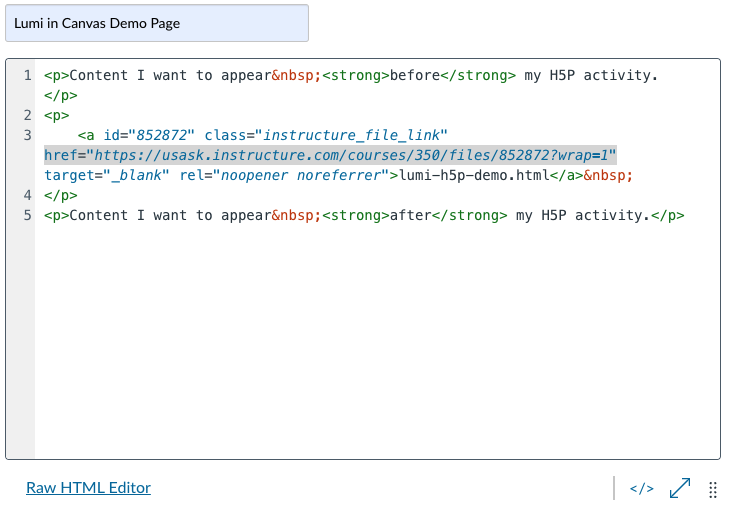
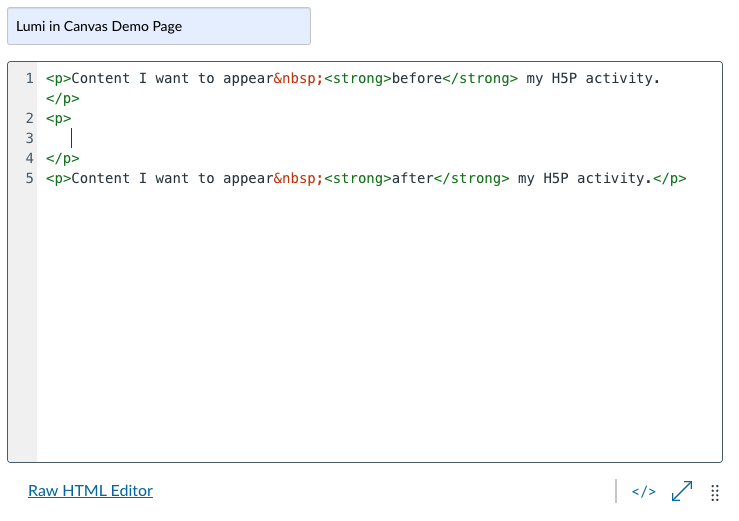
- Now we will delete that whole hyperlink bit, which begins with <a and ends with </a>.
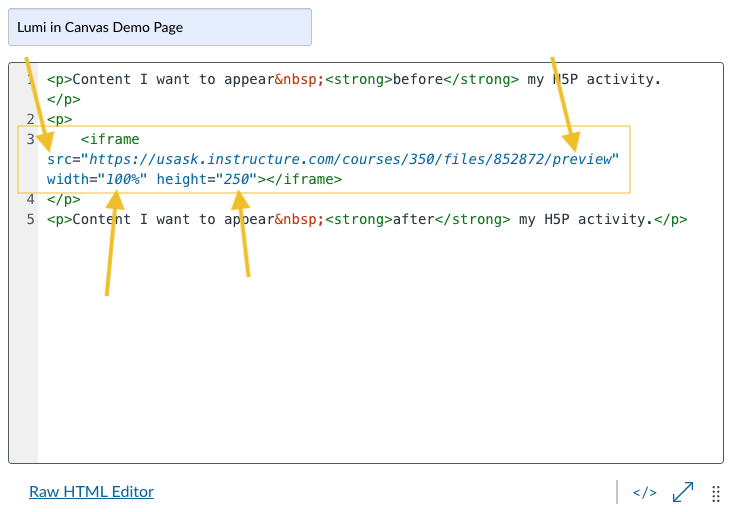
- Now we will create an iframe that will display our H5P activity. Note some key elements we include and some we change:
- instead of href we use src
- after the file number, you can replace ?wrap=1 with /preview
- The width we set to 100% in this example so the activity is the whole width of the page.
- The height is an element you might have to play with. A height that is too short will result in a scroll bar. A height that is far too large will create a great big blank spot on your page.
- Click on the button in the bottom right again to go back to your rich text editor and voilà, your H5P activity displays. Don’t forget to save!
