


At the start of 2021 Canvas released a new Rich Content Editor (RCE) with a variety of new and updated features. Despite these upgrades the Instructional Design team at DEU has had a number of requests from instructors for some specific ways to enhance the look of their course content pages. The HTML Editor in the RCE allows you to do some basic HTML editing on course pages to add features and functions otherwise not available in the main editor. However, this is not a TRUE HTML editor in that Canvas will, at times, strip out or block any HTML code that it sees as a security risk. If you hit a wall trying to make HTML work in Canvas, that is likely why. A second warning is to perhaps practice in a test course before trying these methods in your live class as you can inadvertently cause errors on your page if you’re not a seasoned HTML’er. That said, you don’t need a background in coding to try out some of these features. A little patience and an adventurous spirit should get you through.
In this post we’ll look at adding some simple code snippets to add to the HTML editor in the Canvas RCE to help add function and create more dynamic web pages in your Canvas course. From Text Boxes, Line Breaks, Wrapping Text to Creating Interactive Buttons, see some of the common items people are adding to their course pages using the HTML editor.
| Text Boxes | Line Breaks | Wrap Text | Create Buttons |
 If you’ve never played with HTML code before the sight of it can be a little overwhelming. In an upcoming release from Canvas we will be able to see the “Pretty HTML” editor which should make seeing our content in the pages a lot easier.
For now, the RAW HTML editor is nothing to run screaming from and this post shows you how to use these features without the “pretty” release.
Text Boxes
Sometimes highlighting a block of text with a text box can break up a page of content or highlight important notes, quotes and passages. Here are three ways to add some highlight areas to your pages using the HTML Editor and a few snippets of code.
Colour Background
The simplest way to highlight a passage is to change the background colour.

- From the Rich Content Editor, find the place in your page where you want to add a section of background colour and type “BACKGROUND”. You’ll see why in a second.
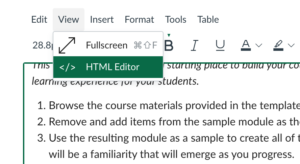
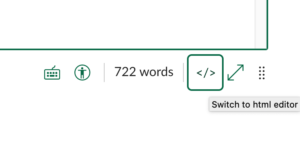
- Toggle your editor view to the HTML Editor in either the View drop down menu in your toolbar or at the bottom right of the editor window.
3. Now, don’t panic but things are going to look a little strange if you’re new to HTML editing! You’ll need to locate your BACKGROUND text inside the HTML page code. Find something that looks like this.
 4. Copy the code below and paste over the <p>BACKGROUND</p> in your page Canvas code.
<div style="background:#F1C730;">This is where your content goes!</div>
5. You can change the colour of the background by changing the Colour Hex code (#F1C730) to whatever you prefer. USask colour pallet codes can be found here.
6. Before you go back to your standard Rich Text Editor view add a paragraph break below the pasted code to make it easier to continue writing below the coloured background.
<p>New Paragraph</p>
7. Now switch back to your standard Rich Text Editor view and see the coloured background with sample text. This text can now be edited as normal and images, videos and tables can even be added inside the coloured background area.

Bordered Text Box
The same procedure as above can be followed to paste a bordered text box into your page. Use the code snippet below and adjust the Colour Hex Codes for background colour and boarder colour as you like.
<div style="top: -20px; left: -20px; padding: 20px; background: #ddeedd; border: 4px solid #cccccc;">Content Here!</div>

Before you go back to your standard Rich Text Editor view add a paragraph break below the pasted code to make it easier to continue writing below the coloured background.
<p>New Paragraph</p>
Text Box with Shadow
Take it one step farther with a text box with a shadow effect. Colours can be adjusted as before although you now have the border colour, the background colour and the shadow colour.
<div style="margin: 50px 15% 50px 15%; background-color: #cccccc;">
<div style="position: relative; top: -20px; left: -20px; padding: 20px; background: #ffffff; border: 2px solid #cccccc;">
<p>Your Text...</p>
</div>
</div>

Line Breaks
Sometimes you just want to break up the content on a page using a line break.
The Canvas RCE has an option for inserting a simple Horizontal line break under the Insert tab of your tool bar menu.

If you want a little more control with how the line looks you can use a snippet of code to create a custom line.
- First, while in the Rich Content Editor find the place in your page where you want the line to appear and type “LINE” on the page. You’ll see why in a second.
- Toggle your editor view to the HTML Editor in either in the view drop down menu in your toolbar or at the bottom right of the editor window.
 |
 |
3.  Locate your “LINE” text in the HTML and then copy and paste the code below over that text.
<p style="border-top: 1px solid black;"> </p>
4. You can adjust the width of the line by changing the number of px and you can change the colour of the line by changing black to blue, red, green, purple, yellow, orange, or pink.
5. Now switch back to your standard Rich Text Editor view and see the coloured line break you’ve created.

Wrapping Text
One of the biggest questions we get is how to wrap text or “float” an image to the right or left of a page. There’s a few ways to do this so we’ll start with the standard rich text editor option.
Wrapping Text – Rich text editor
- Insert your image as you usually would using the insert image button
 . Then add your text below the image. It should look something like this:
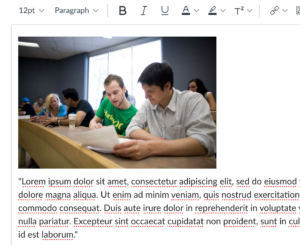
- Select the image and click on the Align Left button
to move the image to the left of the text or the Align Right button to move the image to the right of the text.

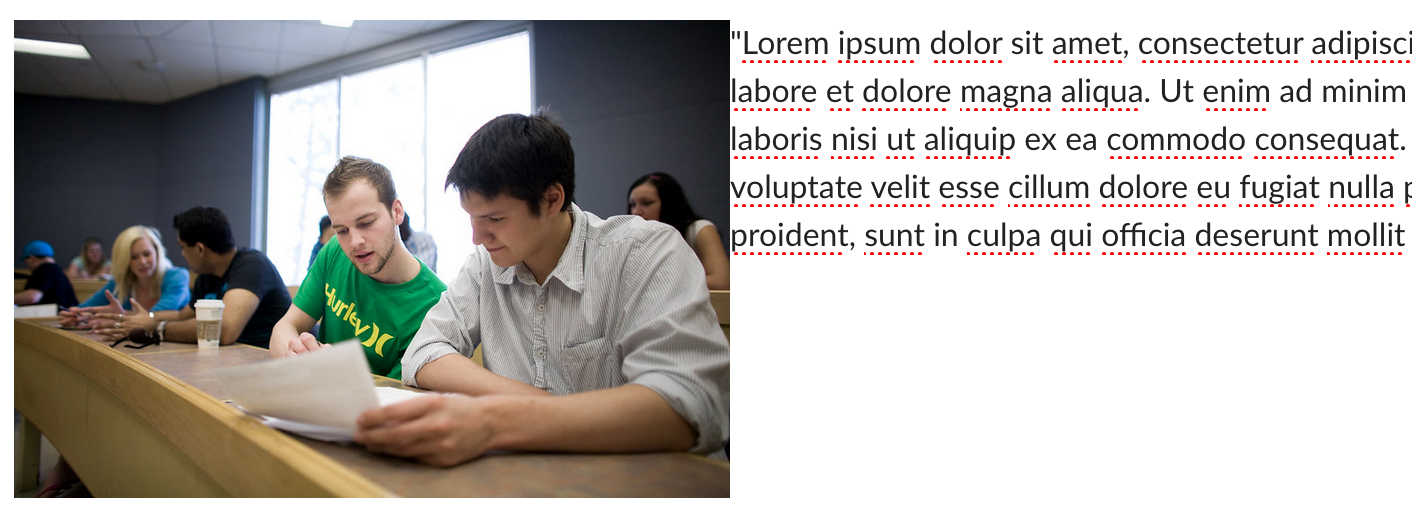
You may notice that the text butts tightly up against the image when aligned left without any “padding” or space between them. This is the caveat with this method.
Wrapping Text – HTML Code Snippet
If you want to customize your padding options you can use a “snippet of code” and the HTML Editor option.
- Insert your image as you usually would using the insert image button . Then add your text below the image. It should look something like this:
- Toggle your editor view to the HTML Editor in either in the View drop down menu in your toolbar or at the bottom right of the editor window.
Now, don’t panic but things are going to look a little strange if you’re new to HTML editing! You’ll need to locate your image code inside the HTML page code. Find something that looks like this.
Note: The highlighted areas will be different in your course.
<p><img id="724855" src="https://canvas.usask.ca/courses/349/files/724855/preview" alt="7106709543_e65c877be2_c.jpg" width="500" height="334" /> </p>
Tip: You can use your Browser’s “Edit > Find” function to locate “<p><img id=” which should locate the images you have on that page.
Now, once you’ve located the image you want to “float”, copy and paste the code snippet below into the HTML editor right below your current image code.
<p><img style="padding: 0 15px; float: left;" src="https://canvas.usask.ca/courses/349/files/724855/preview" alt="7106709543_e65c877be2_c.jpg" width="500" height="334" data-api-endpoint="https://canvas.usask.ca/courses/349/files/724855" data-api-returntype="File" /></p>
Tip: You can hit return a few times to give yourself some room to work.
Here you see the original code highlighted on top and the new code highlighted on the bottom.

Now it’s time to edit the new code you pasted to match the image file you want to use. Below you can see the original image code on top and the new code on the bottom.
You’ll need to copy the image location in blue from the top code and replace the image location in the bottom code in two places. You may also want to adjust the size of the image in the bottom code to match your original image and you can also adjust the alt text for screen readers to read a description of the image. The padding setting can also be adjusted at this point if you want more or less space around your image and you can change the left align to right depending on what you prefer.
<p><img id="726435" src="https://canvas.usask.ca/courses/349/files/726435/preview" alt="Students working together" width="876" height="348" /> </p>
<p><img style="padding: 0 15px; float: left;" src="https://canvas.usask.ca/courses/349/files/724855/preview" alt="7106709543_e65c877be2_c.jpg" width="500" height="334" data-api-endpoint="https://canvas.usask.ca/courses/349/files/724855" data-api-returntype="File" /></p>
Once you’ve done all the editing to the code you want you can delete the original line of code on top and keep the newly edited code you pasted in. Shift back to the Rich Text Editor view and see the changes you’ve made.

Notice the 15px padding between the image and text.
Buttons
Buttons can be useful for navigation within your course when a simple hyperlink just doesn’t draw enough attention.
- First, while in the Rich Content Editor find the place in your page where you want the Button to appear and type “BUTTON” on the page. You’ll see why in a second.
- Toggle your editor view to the HTML Editor in either in the View drop down menu in your toolbar or at the bottom right of the editor window.
|
|
3.  Locate your “BUTTON” text in the HTML and then copy and paste the code below over that text.
<p style="text-align: left;"><a class="Button" style="width: 20%;" title="Button -- Normal" href="https://sites.usask.ca/edtech" target="_blank" data-api-endpoint="https://sites.usask.ca/edtech" data-api-returntype="Page"><strong>Button -- Normal</strong></a></p>
4. You can change both the button rollover text and the button text (Button — Normal) here in the HTML Editor as well as the size of the button which is indicated as a percentage of the overall page width.
5. Now switch back to the standard Rich Text Editor View and you’ll see your button as linked text. Click on the linked text to get Link Options which will open in a window to the right.
 Here you can change the Button text again and also paste a link to where you want the button to take your students.
Once you’ve updated the link and text you can save your changes in the editor and return to the course page where you’ll see your button for the first time.
Accessibility in Online Teaching and Learning
As mentioned above, ensuring the Accessibility Standards of your online course is an important factor in maintaining equitable access to course materials and content. Accessibility and equity go far beyond choosing the right colours for text and backgrounds so be sure to follow the Canvas Accessibility Guidelines and for more information about Universal Design in your online course see a previous DEU Digest on Accessibility and Online Teaching.
Feature Image Photo by cottonbro from Pexels CC0