
There are times where a hand-drawn sketch, diagram, or solution might be the best way to illustrate something to your students, or walk with them through the steps of solving a new problem. The ideal option for doing this in synchronous video sessions would be to connect a dedicated document camera to your computer, and switch the video feed. But, what if you don’t have access to one? This post will take you though a quick alternative “hack” in order to use your smart phone as a document camera.
As with most synchronous sessions planned for a course, you (the instructor) will serve as the host in this scenario. With this approach, you will host and connect from your primary device (desktop or laptop), and then also join the meeting at the same time from a secondary device (your phone, or a tablet would work similarly). This way, you can jump in or out of the session with your phone “document camera” as needed, while staying connected via your computer throughout and keeping all of the host controls easily-accessible. If you wish, you can also maintain a display from your webcam through the session and keep a consistent instructor presence in that way.
Things to Do in Advance
- Schedule your WebEx meeting in advance. The best way to do this is to use MEETS from within your Canvas course, as this gives your students a reliable and secure way to join the meeting, and also will allow them to access any recorded sessions later. Make sure you also communicate the session time directly with your students (e.g., via an Announcement). For more information, see: How do I schedule a Webex meeting in the Blackboard/Canvas course I’m teaching?
- Install the Cisco WebEx Meetings app on your phone. You will need to give the app permissions to access (at a minimum) the video on your phone. Sign in to the USask network on the app using the following links for more guidance, depending on what type of phone you are using:
- Set up your writing station (see pic below for an example). I found it worked best to have my phone about one foot above my writing pad. While you could use a small phone tripod or phone mount (if you have one), a simpler setup is to use a stack of books. Here I have “sandwiched” my phone under the top book, so that it would stay steady and give me room to move my hand underneath.

Starting Your Meeting
- When you are ready to start the meeting for your students, using your computer (primary device), go into your Canvas course, click MEETS from the course menu, find your scheduled session, and click “Host”.
- Within MEETS, click the “More Details” link on your meeting. It will open a new page with a variety of info. To join the meeting with your phone, you should have the Session ID (10-digit number) handy.
- From your phone (secondary device), click the “Join Meeting” button on the app. Here you can enter a room in several ways (meeting number, URL, or username). Enter the Session ID for the meeting and confirm you are ready to join.
- Use the following settings on your phone:
- Connect the video by clicking the “camera” button. There is another button to allow you to toggle between your front-facing (selfie) and rear-facing camera as needed (I used the rear-facing camera as it was easier to see what I was writing this way).
- Make your phone a video-only device to eliminate any nasty audio overlapping or feedback loops (keep with audio entirely being served by only your computer). When you enter the room on your phone, use the “Don’t Connect Audio” setting. If you missed that, click the “…” button and “Change Audio Connection” to “Disconnect audio”.
- Position your phone above your writing pad and start teaching!
Other Tips and Advice
-
- Start the meeting early, a few minutes before students arrive, as this will give you time to get your phone connected and set up properly.
- Make sure your phone is well-charged before you start, or even keep it plugged in throughout the session. Live video can drain your battery quickly.
- In the pic above, you can see my phone is sideways (recording in landscape / horizontal mode). However, WebEx will auto-rotate and your students will see things in the correct orientation, so long as you do not have the auto-rotate feature disabled on your phone.
- Like when you write on a blackboard, you need to write or draw legibly! Use light-coloured paper and a dark (black or blue) pen or marker. A small whiteboard with dry-erase markers would also work well. Set up your meeting station and writing pad in a room with good lighting.
- Watch the live capture on your phone’s screen and check how the feed is coming through to the WebEx meeting on your computer (primary device). If things look legible there, then they should be legible to your students.
- If your phone’s camera is unable to focus, you probably need to raise your camera higher above your writing pad.
- Make sure that on your computer you can see the WebEx chat or any “raised hands” from your students, and that you can hear them if they have questions. They will alert you to any technical issues they might be having (or if they have questions about what you are teaching!).
- To ensure the student view does not become too cluttered, you may wish to ask (or require) that students leave their cameras off. Alternatively, you can use the “pin” button on the video feed from your phone (“Lock Video View” for everyone), so it will remain the primary view for all attendees.
- Test your document camera “hack” setup by yourself, or with a helpful colleague, before your first live session with students. The first time will be the trickiest to figure out!
- Improve the accessibility of this approach by also providing students with a digital (typed) solution of the work you are demonstrating by hand, and by using detailed audio narration during your instruction.
- As with any synchronous session, if you want the recordings to be available to students later (a good practice), don’t forget to “start recording” in WebEx at the start of your session.
What About Doing this for Asynchronous Teaching?
You can certainly use a similar setup for asynchronous teaching (i.e., by using your phone as a document camera while you make a prerecorded video in Panopto). See the following video for some instructions on how to do that: Using Your iPhone as a Document Camera (thanks to Tyson Brown for sharing this).
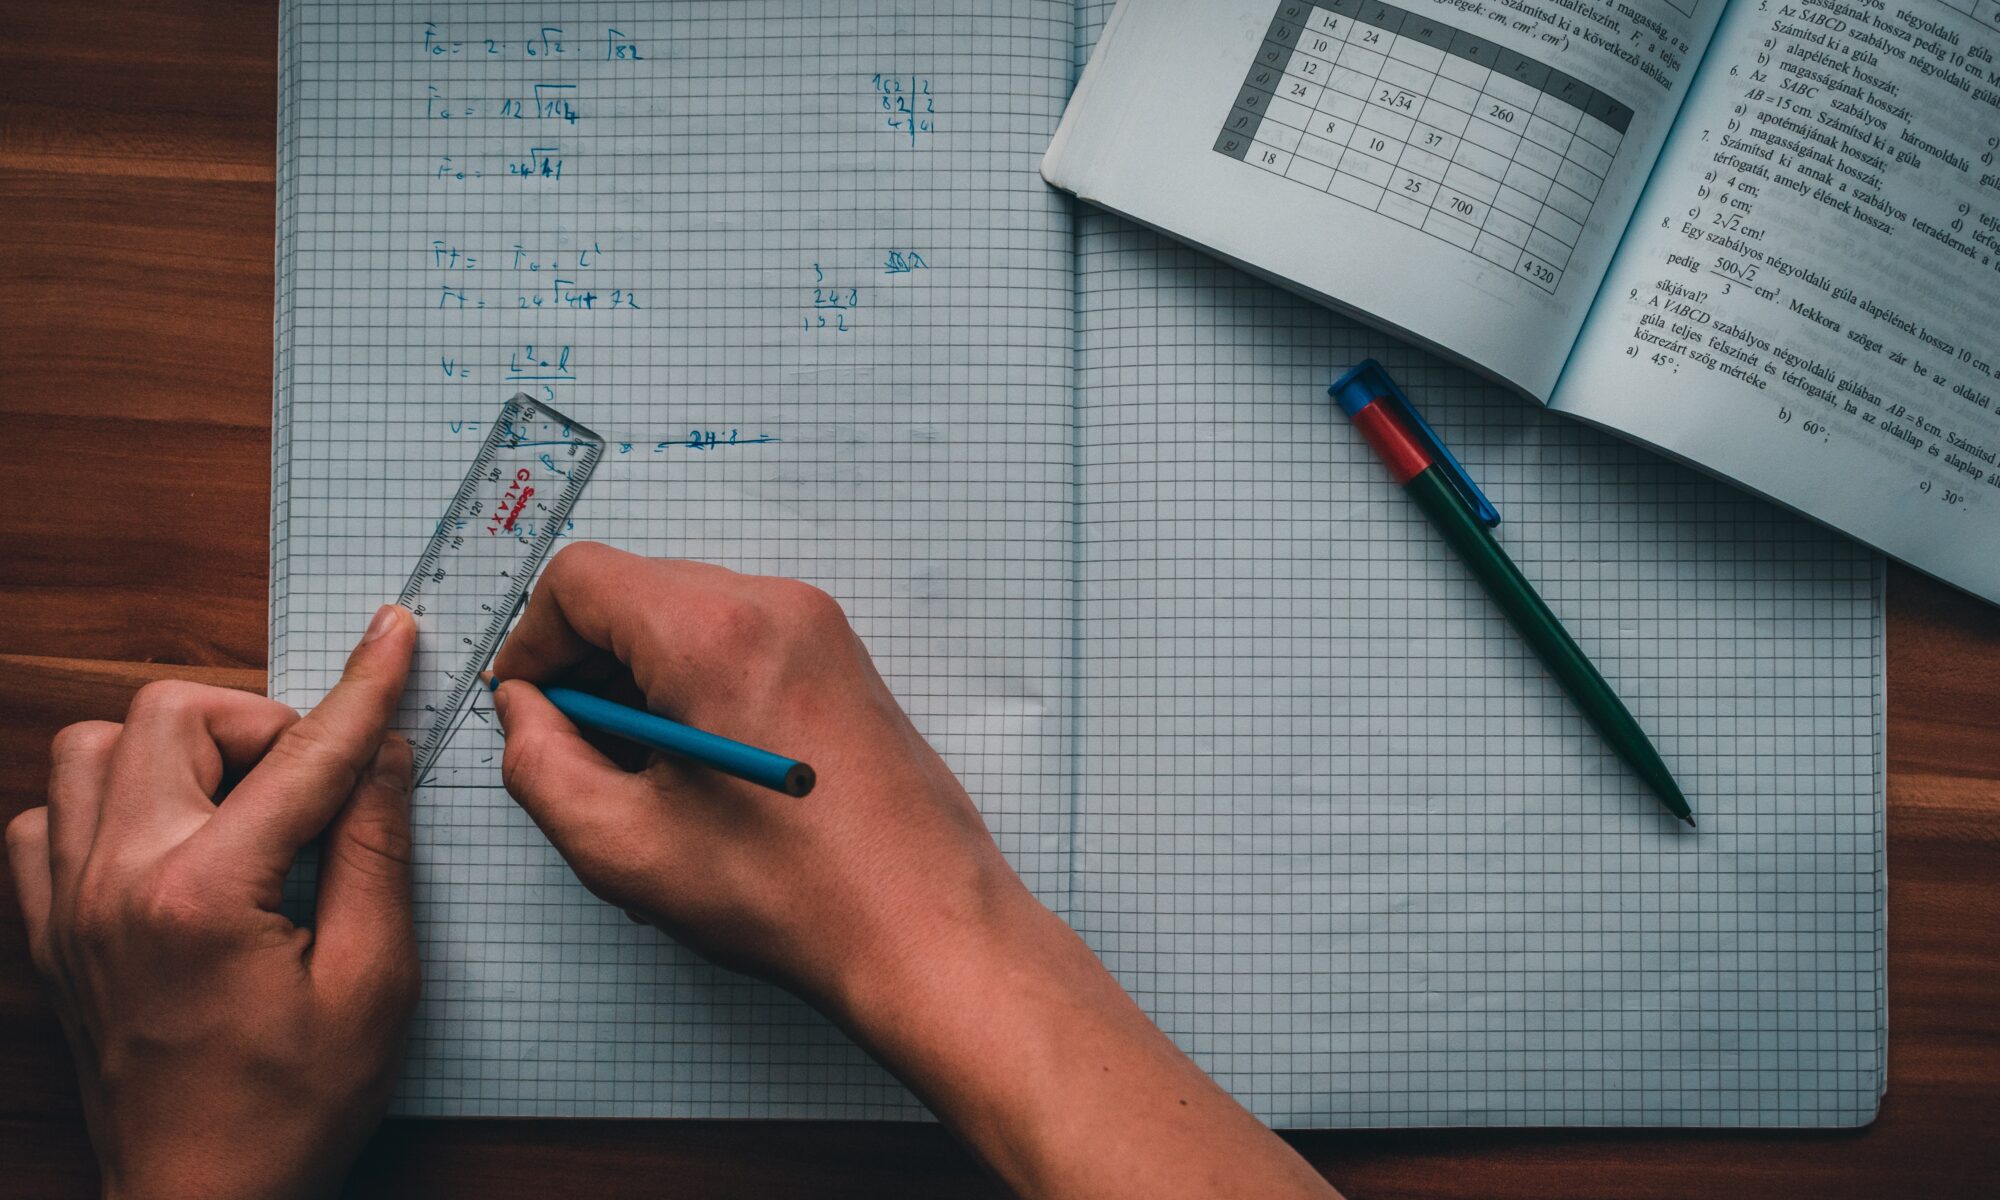
Photo by Miklós Péter from Pexels