It’s very possible that during the last year, you spent some time making videos for your courses. Adding closed captions and/or downloadable transcripts is a great way to improve the accessibility and effectiveness of your video-based course materials, and with tools built into Panopto, this can be done quite quickly. Let’s look at why and how to do this!
Why Provide Captions or Transcripts?
Not only will captions and transcripts be hugely important to any deaf students or students with hearing impairments, and help to make your courses more accessible and equitable, they will improve the learning experience for all of your students. This is the basis of Universal Design for Learning.
According to a 2015 study from the Oregon State University Ecampus Research Unit:
-
- 98.6% of students find captions helpful
- 71% of students without hearing difficulties use captions at least some of the time
- 66% of ESL students find captions “very” or “extremely” helpful
- 75% of students that use captions said they use them as a learning aid
- 52% of students that use captions said captions help as a learning aid by improving comprehension
- The most common reason students use captions is to help them focus
- The most common reason students use transcripts is as study guides
Instructors might also find transcripts useful as a speaker guide for future iterations of your video (e.g., when it comes time to revise or update your video).
Captions for Your Panopto Video
1. Add Automated Captions
For directions on adding automated (computer-generated) captions to your video, see the following article: How do I enable closed captioning in Panopto?
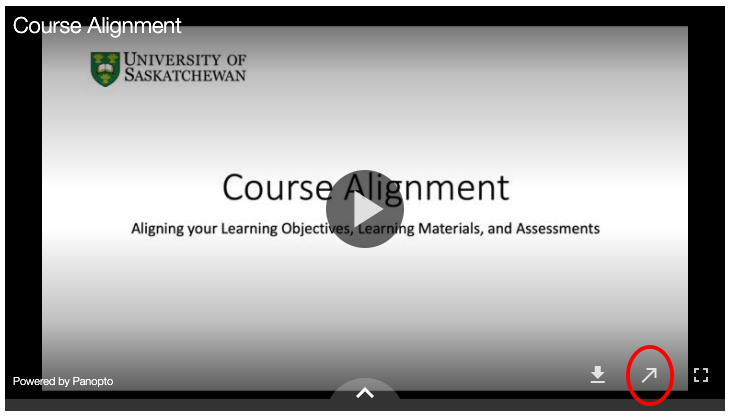
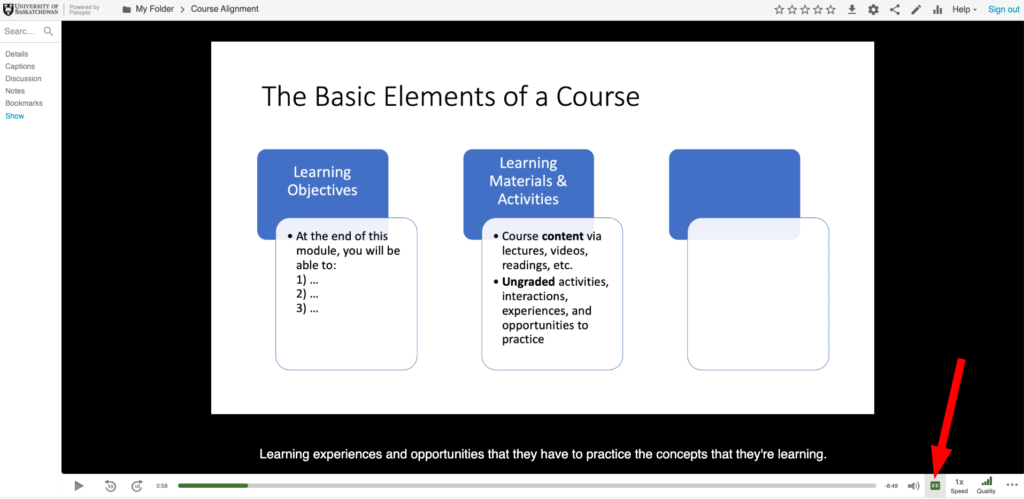
See the following Panopto video for an example of automated captions in action: Course Alignment (click on the “CC” button to toggle the Closed Captions to “On”).
Note that it is also possible to manually upload your own caption file to Panopto, rather than relying on the Automated captions. This approach requires very specific formatting of the caption file. See more info on this approach at: How to Upload a Caption File for a Video.
You can also manually input your own captions in the Panopto editor. This approach is probably way, way slower than starting with the automated captions, but might be preferable in some situations. See more info on this approach at: How to Manually Caption Sessions in the Editor.
2. Review and (If Necessary) Edit The Automated Captions
Make sure to review your automated captions when they are done. Depending on how clearly the speaker in your video has been captured by the speech recognition software, and how much discipline-specific terminology might have been used, you will probably need to do at least a little bit of editing to the automated captions. This can be done right within the Panopto editor.
The directions for this can be found here: How to Add ASR (Automatic Speech Recognition) Captions into a Video (look under “4. Editing the Captions”).
3. Help Your Students Access the Captions
Your students might not immediately realize that captions are available to them, so it could be helpful to send a message to your class, or place a small note underneath the embedded Panopto video in your Canvas course, like this:


Transcripts for Your Panopto Video
1. Download Your Captions
To download a plain text (.txt) file of your captions, see the directions on the following article: How to download captions.
2. Reformat Your Transcript Files
Caption files in a plain text (.txt) format are not terribly student-friendly. The content will look something like this, with time stamps interspersed:
1
00:00:01,120 --> 00:00:06,190
This video is going to go over the concept of course alignment and how you can use a course

2
00:00:06,190 --> 00:00:11,410
design plan in order to help you achieve course alignment. So

3
00:00:11,410 --> 00:00:17,410
to start, let's just discuss the basic elements of a course that we're going to talk about in this video.
Making this more student-friendly is a pretty straightforward job, although it takes a bit of elbow grease. Simply copy-and-paste the content from the .txt file into a new Word Document (.doc or .docx), and then delete the timestamps as needed.
For improved readability of the transcript, you could also add proper paragraph breaks as well as headings. This can go a long way to making your transcript a useful study guide for students.
Save your completed transcript in either Word Document (.doc or .docx) or PDF (.pdf) format. Word Documents offer the benefit of allowing students to easily edit the file as needed, for their own study purposes or to add their own additional notes.
3. Share the Transcripts with Your Students
Upload your Word Document (.doc or .docx) or PDF (.pdf) format transcript to your Canvas course Files, and then post it to your Canvas course in a place where students can easily find it. The best place might be to place it as a course link into the Page right underneath the embedded video.
Additional Info & Support
Looking for more info on incorporating closed captions or transcripts into your courses? See the following article from Panopto: Frequently Asked Questions (FAQs) About Video Captioning, Answered.
Or, for more help, connect to an Instructional Designer at the DEU by emailing deu.support@usask.ca.
Photo by Christina Morillo from Pexels


